Halloween has been called “the maker’s holiday.” What other day offers so much opportunity for hacking, building, and inventing? Halloween projects build community, delight kids young and old, and give you a chance to show off your maker chops. What’s not to like?
Halloween Vampire Makeup
The vampire is the first creature in Dick Smith’s Do-It-Yourself Monster Make-Up Handbook, and we’ll start with this monster for the same reason Smith did: because it’s a relatively simple makeup job, requiring very little in the way of supplies. That being said, the techniques of applying makeup to create a vampire are among the most essential in character makeup, requiring a careful sense of shading.
Grease your hair back. Add some thin blue lines for the effect of pronounced veins.
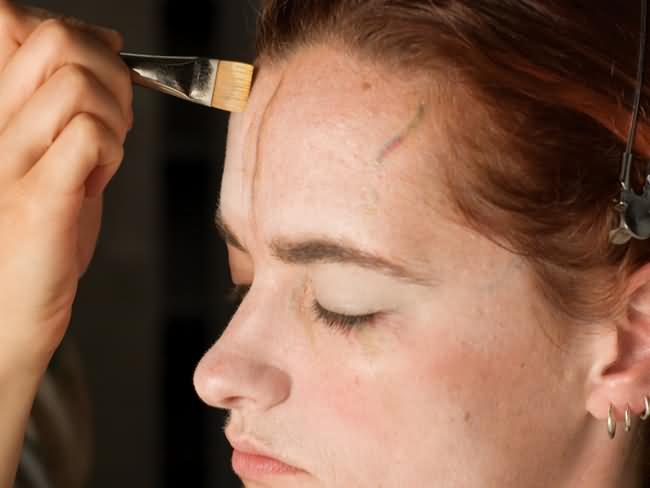
Give your face a base coat of greasepaint. Start with white, but add a little bit of another color to make the results unearthly. Gray will do for this, but you might decide to go with green, which, believe it or not, was the actual color of Béla Lugosi’s makeup in the original Dracula. Dab your face with the white greasepaint, and then add dabs of the second color, blending them together with your fingers until your face, neck, and ears are completely covered.
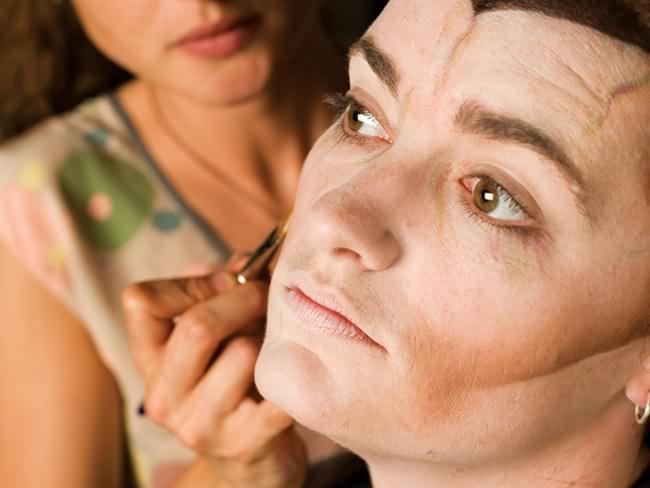
Use your second color, gray or green, to add shadows. You want to darken your temples and under your cheekbones – the intention here is to give a hollow, cadaverous look. Blend the shadows in with a brush or with your fingertips.
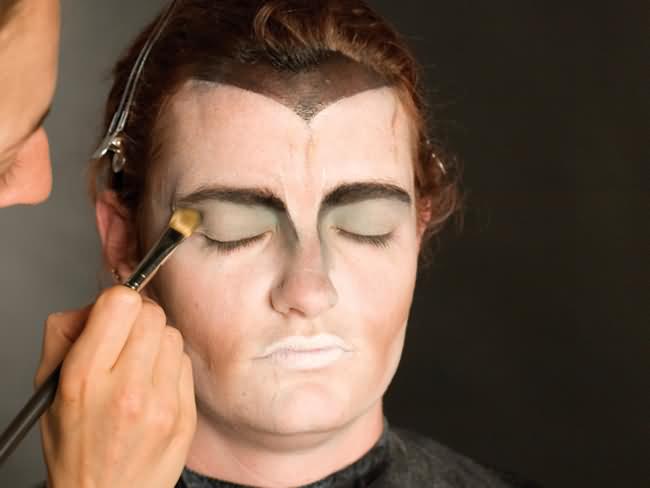
Shadow your eyes, to give them a sunken, skull-like look. Begin by placing black greasepaint on your upper and lower lids, keeping it very dark around the hollows of your eyes. Blend more the farther away you get from the eyes, and stop where the hollows of your eye sockets end. Then set the greasepaint. Pat a pale or neutral powder onto your face and neck. Clean off the excess with a cotton ball or powder puff. This will set the greasepaint, so that you don’t need to worry about it smearing, coming off on your clothes (although always use caution with makeup and clothes), or sweating off.
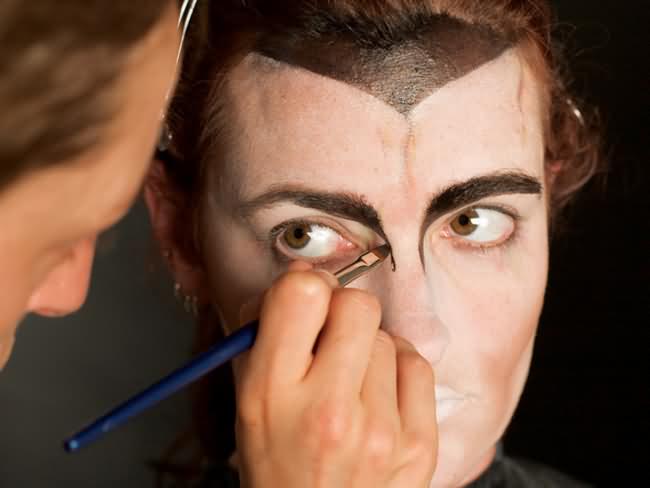
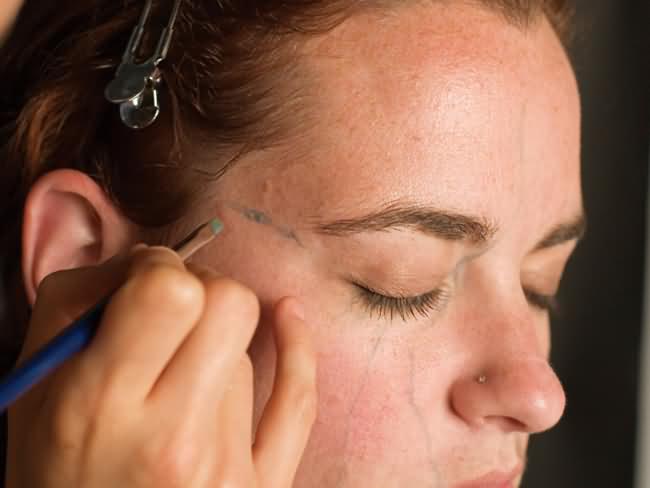
Use your eyebrow pencil to add very small lines, which should look like additional hairs, along the top of your natural eyebrow. Make it as thick as you think looks terrifying, and as shaggy as you like. Additionally, traditional vampire makeup tends toward wickedly arched brows.
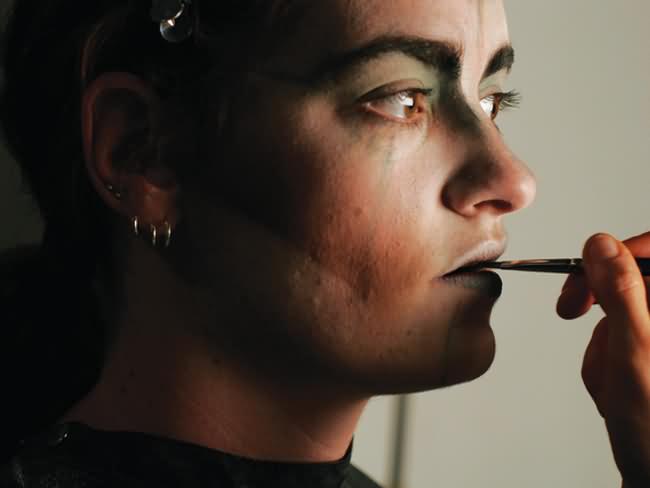
Use your eyebrow pencil to enlarge your nostrils by blackening in and around your nostril openings, and blacken your inner lips with a hard, sharp line. If you have black lipstick, you might also consider giving your vampire black lips.
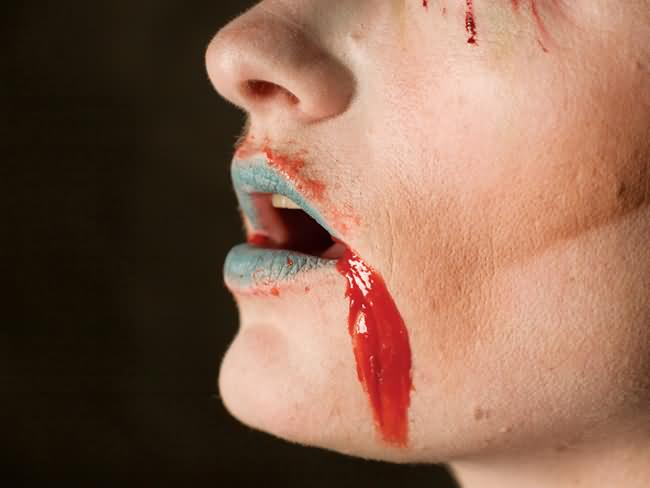
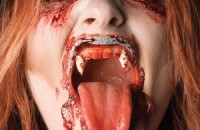
Now add the vampire teeth and a trickle of stage blood (or, if you’re feeling especially gruesome, slather your face with stage blood), and dress appropriately. Vampires used to dress in Victorian evening clothes. Nowadays they tend to wear a lot of black leather and latex, so a local fetish shop might be able to help you with your costuming needs.

Halloween Meat Head
I’ve served a Meat Head at my Halloween parties for at least the last five years. It never fails to impress (and distress!) my guests.
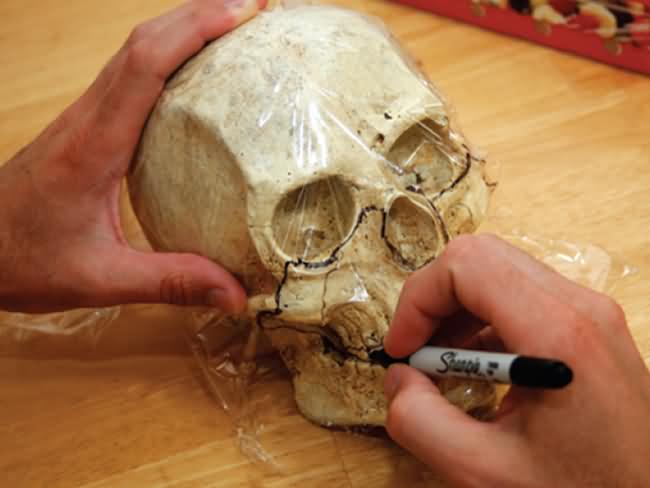
Start with a plastic skull. Wash it well, and make sure it’s clean enough to eat off of. Because that’s what you’re going to do.
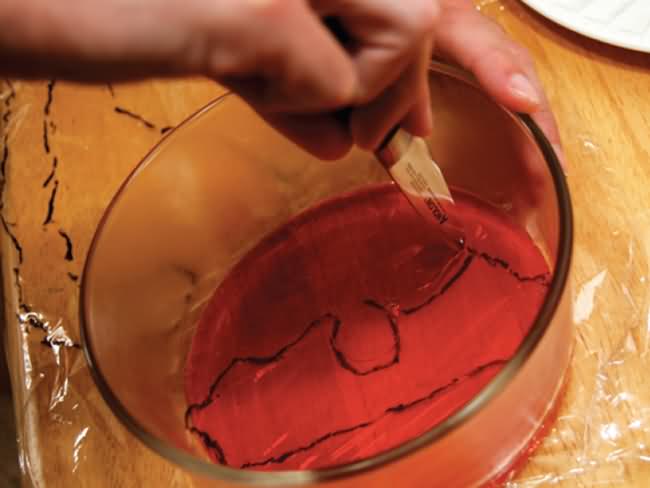
Congeal yourself some Jell-O in a big flat pan. Red flavors are best (I used green one year when Meat Head was a Vulcan). Use only half the water the recipe calls for, to make the Jell-O nice and rubbery. Cut the Jell-O into strips and patches about 1/4 thick, and layer it across the skull. This makes an interesting bottom layer for your guests to discover.
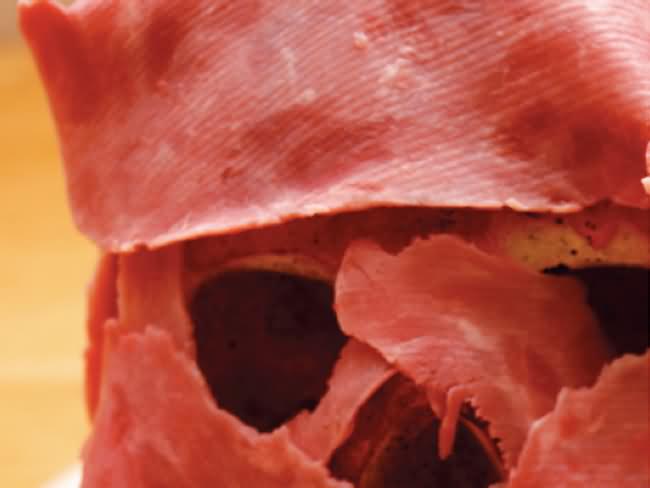
Next, take strips of cold cuts and layer them across the skull. (A pound-and-a-half is plenty.) You don’t want to use too much, or else your guests won’t eat their way down to the Jell-O surprise that’s waiting for them! It’s a ham Meat Head, which gives a Freddy Krueger complexion. It’s used corned beef, for the look of someone with their outer layer of skin peeled off, and turkey, for a nice zombie appearance. You’ll need to use strategically placed toothpicks to prevent the cold cuts from sliding off the head.
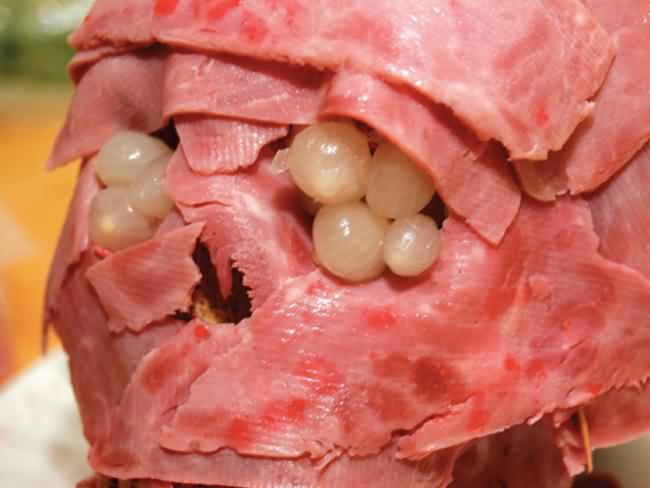
Add the eyes. I recommend pickled onions, for their pleasing translucency. The yolks of boiled eggs give a jaundiced look, with pupils made from sliced olives. Cover the whole assembly with plastic wrap, and store in the fridge until party time. (Be sure to warn housemates.)
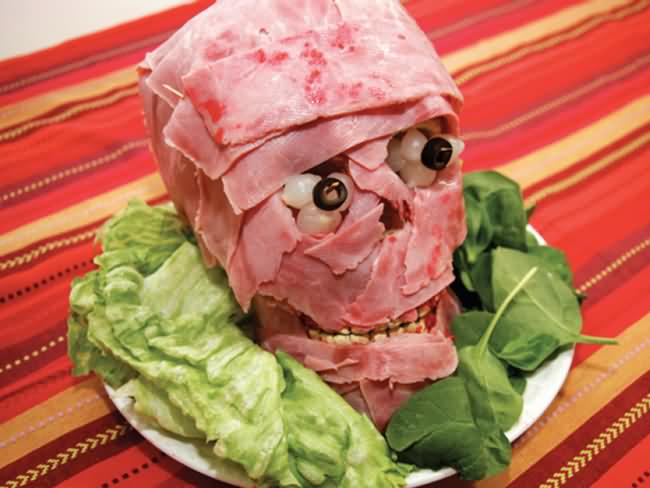
It’s time for the magnificent midnight buffet! Remember to garnish Meat Head. He looks ever so much better served on a bed of green leaf lettuce, don’t you think?
Halloween Wounds Makeup
Liquid latex rubber is great for wound makeup, large and small. Courtney likes to use it to create small flaps of skin for a skinned knuckle, which are convincing enough that when she occasionally wears her makeup to work as a prank, employers have insisted she seek first aid write a medical report, even after she has explained that her injury is just makeup.
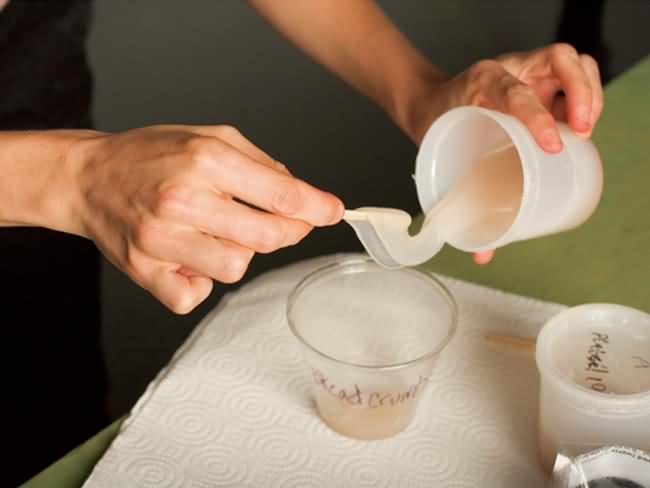
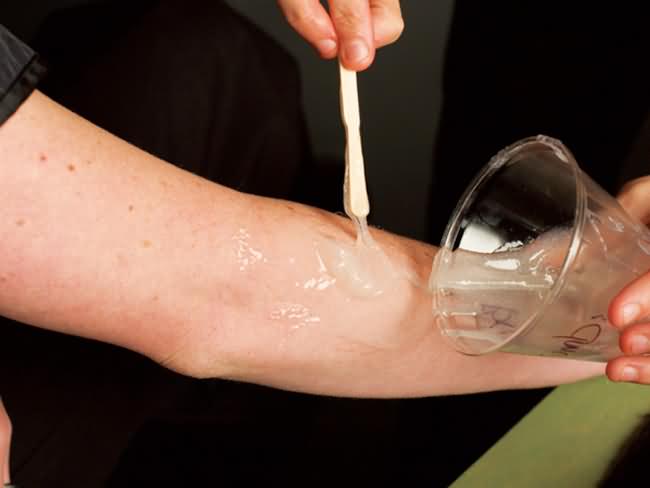
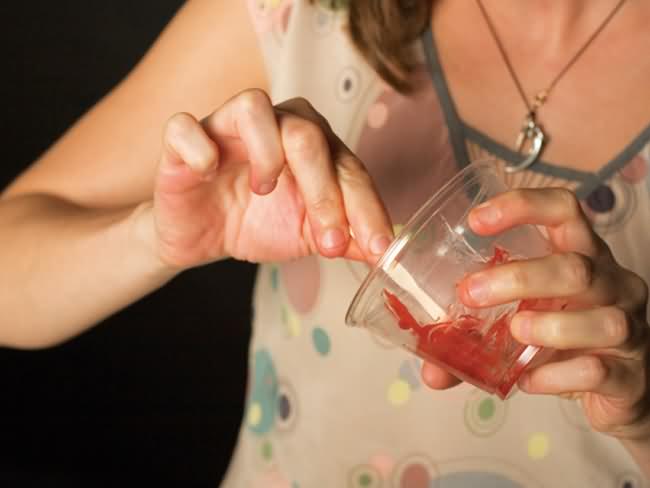
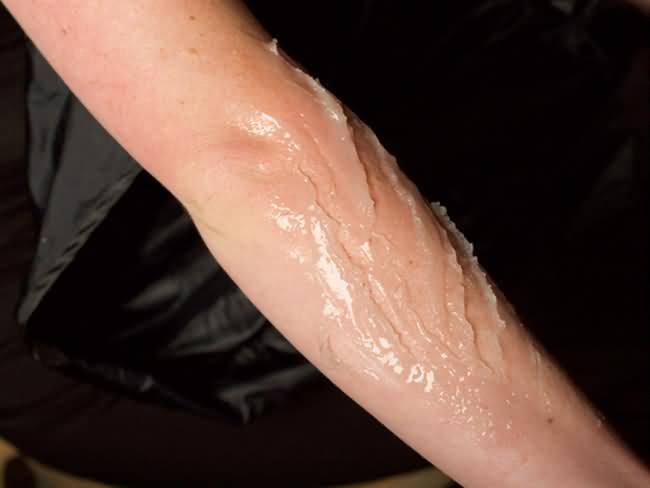
To make a wound with liquid latex, first make sure the application area is clean and dry. Apply a thin layer of latex a little larger than the size you’d like your cut to be, taking into consideration how much “skin” />
CAUTION: Before you use latex on anyone, be sure they’re not allergic. Put just a drop of liquid latex on your subject’s arm – if they react with redness or itchiness, you should not use latex on them.
Once the latex is dry, disguise the line between latex and skin. This is done by applying makeup color with a stipple sponge.
Use a light hand; you can always go back add more. If you’d like a clean cut without bruising or too much discoloration, use various hues of natural skin tones. For a bruised area, use mustard yellow, dark red, dark purple-the colors in you “injury stack” />
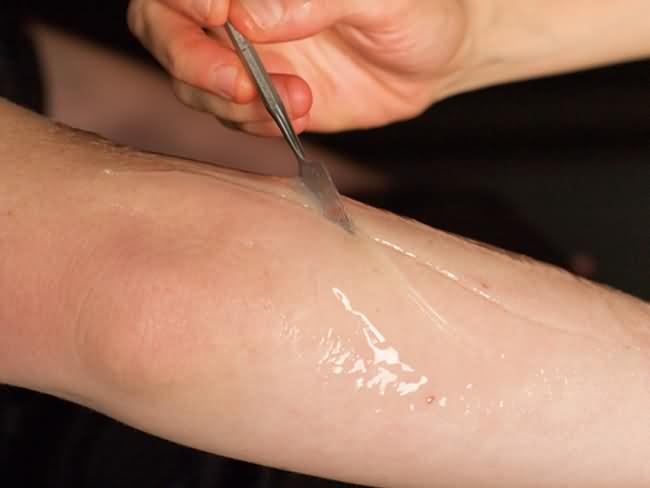
When you’re satisfied with the color of you wound, you can create the cut. I recommend using a toothpick for small cuts (and even larger ones) because you’ll have more control in how your cut will look.
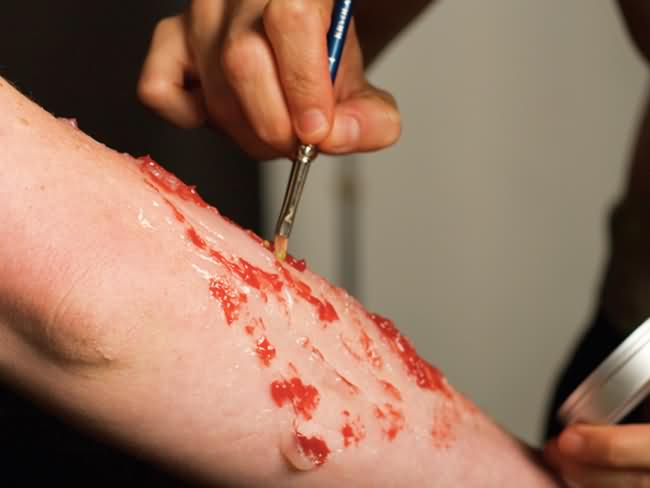
Gently pick through the latex with the tip of the toothpick, a little at a time, forming the cut.
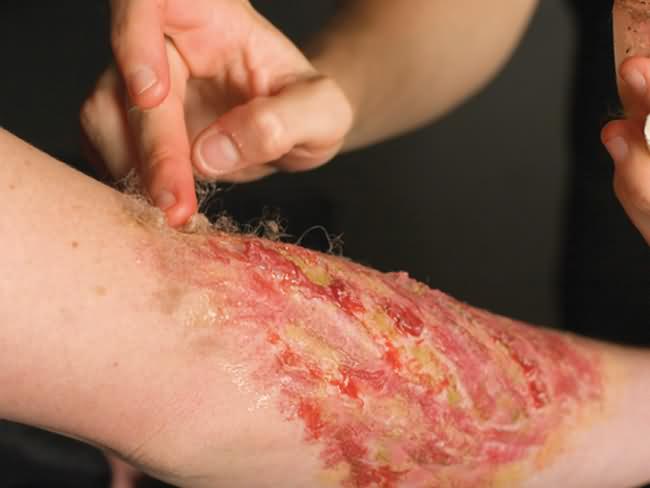
You’ll see clean skin underneath the cut. Color that skin with a dark-color creme makeup, preferably black-this will give your cut more death. Gently apply a red color to the edges of the cut and apply fake blood. Again, use a light hand here. You can always add more if you’d like.
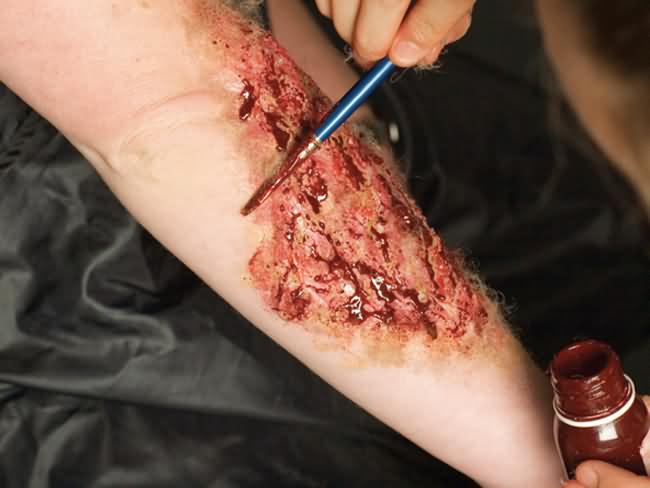
For an even more dramatic cut, use your stipple sponge and drag it in the direction of the cut with a dark red color. This will create smaller scratches.

GIPHY App Key not set. Please check settings